In HubSpot you can limit the access a user has to your portal. This includes limiting their access to object records (deals, companies, contacts, tickets, custom objects) as well as limiting access to the different hubs.
For example, if you want users to access everything but don't want them to be able to delete the record, you can set Edit and View to Everything and Delete to Owned Only or None.
Adding a user for the first time
To add a user go to Settings > Users & Teams. Then click on Create User. And then follow the steps.

- Add the user email. Please be sure there are no typos in the email, otherwise the user will not be able to login.
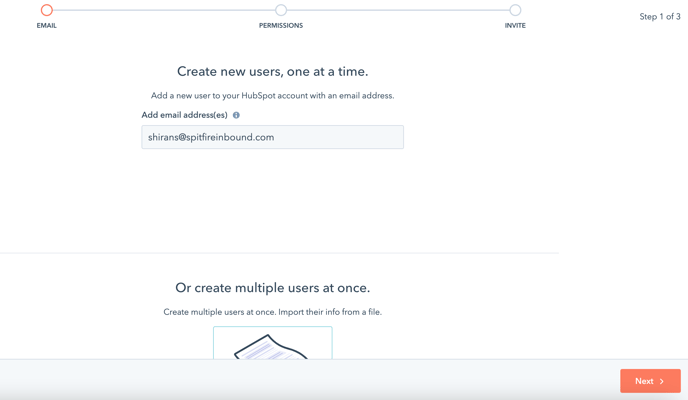
NOTE: you can also bulk add users, scroll down on the above page to see this option. - Choose your permission type. We recommend starting with the Default permission set option, as this will give you a good base.
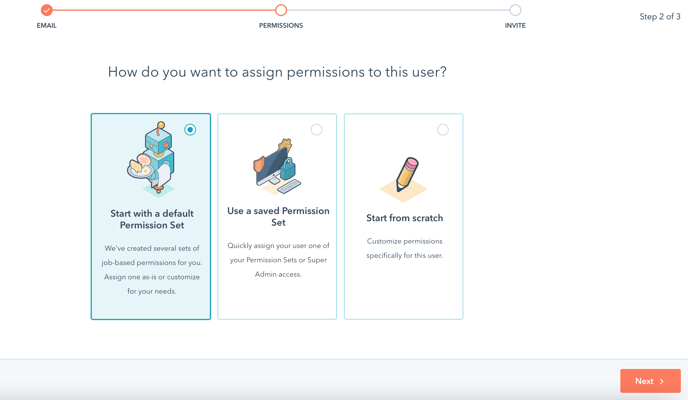
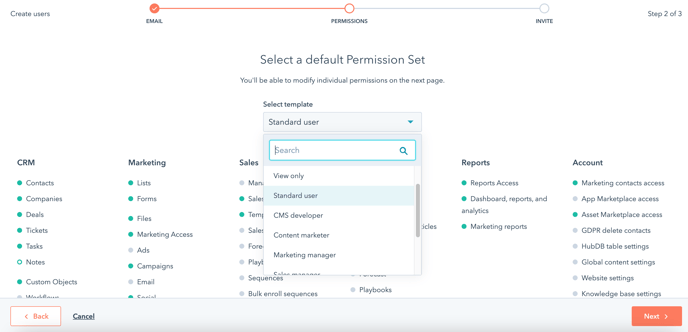
NOTE: Saved Permission Sets are only available for Enterprise clients. You can view details on how to create Permission Sets here.
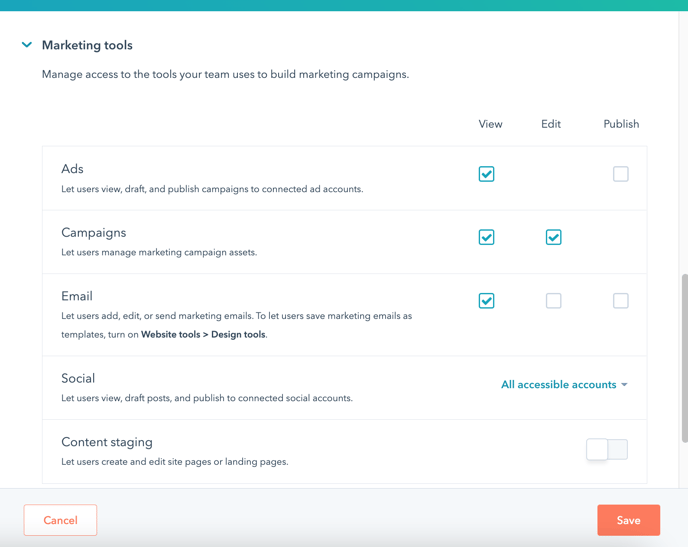
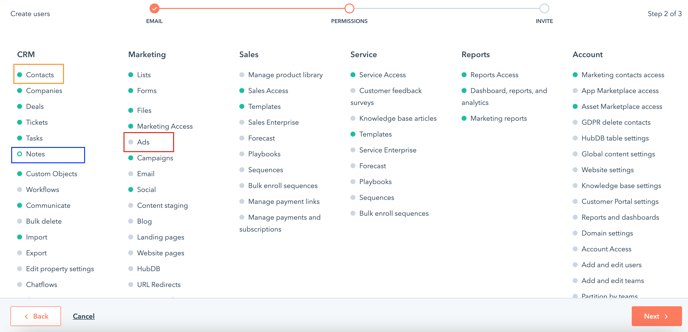
- When the circle is full green, that means the user has full permission. They can view, edit and delete.
- If the circle has a green boarder but white inside, this means that the access has been limited, they can do some things but not others, or they have Team or Owner only access. HubSpot's full permission set guide can be found here.
- If the circle is grey, they don't have access to that elements. Review the permissions.
Updating current user permissions
If you already have users setup in your system but need to update the permission, this can be done at any time.
In this case, when you go to the Users & Teams page, you would be able to search for the users. Then scroll over their name and select Actions.
From here, you will be able to click Edit.

You'll then be taken to the user page and you can manually reset any permission you want.
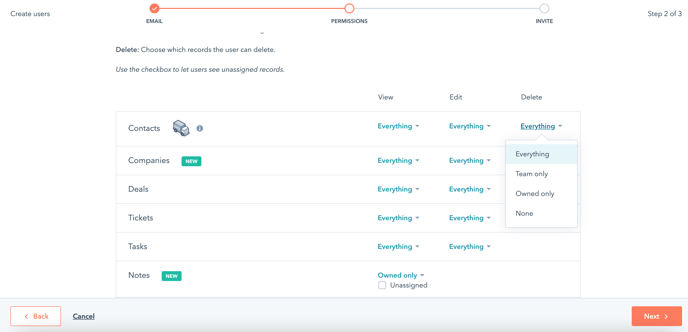
When partitioning objects, you have the following options:
- Everything - this allows users access to all records.
- Team only - this allows users to have access to all the elements and records created by themselves as well as people within their team.
- Owned only - this allows users to have access to only the records which they own.
- None - they have no access at all.
- When selecting Team only or Owned only, you can also tick or untick the Unassigned checkbox to allow the user access to unassigned records.
You can also limit the user access to a specific hub but toggling off the hub button:
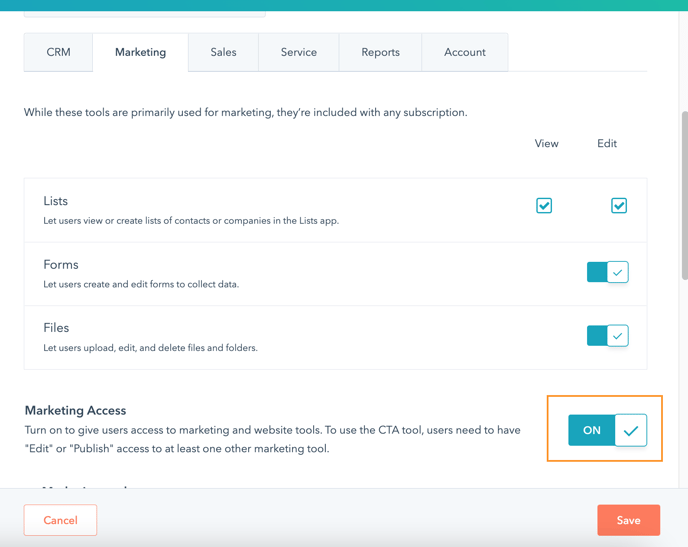
Or you can give them access but still limit options: