
HubSpot support forms allow you to easily create a ticket from a form submission. If you have Service hub Professional or Enterprise, you can additionally create automations off this ticket.
Creating the form
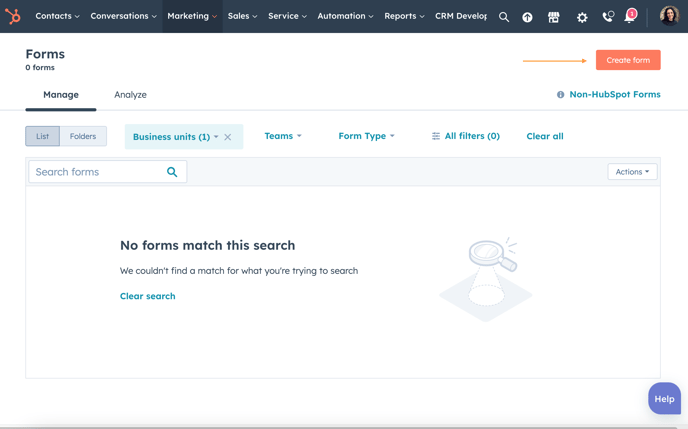
Building a support form works the same as building any other form. You would login and go to Marketing > Lead Capture > Forms.
From here you would click on Create Form:
In the next screen, choose the Embedded Form option:
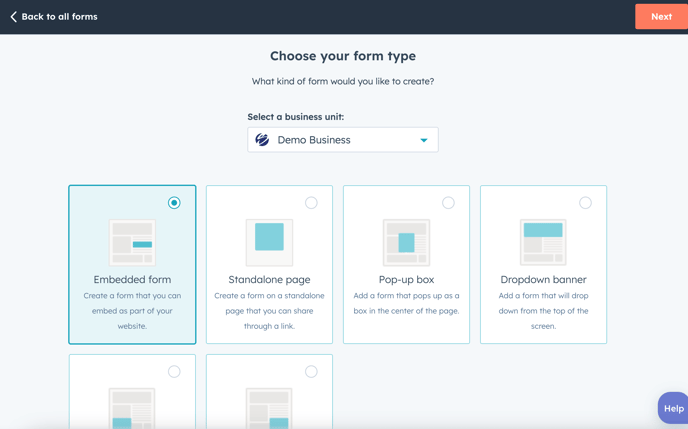
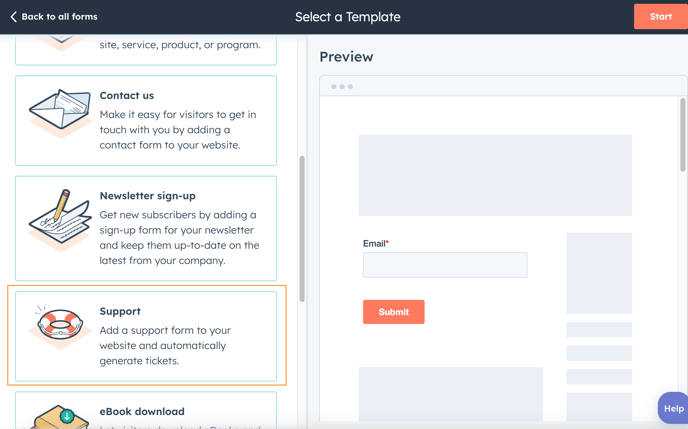
From this screen, you will then be asked to select the kind of form you want to create. You can choose the Blank Template option. However, we recommend scrolling down and choosing the Support Form option.
You'll then be asked to select which Inbox you want to attached this form to.

If you create the form using the Blank Template you'll have to make sure you toggle on the Ticket Properties option.
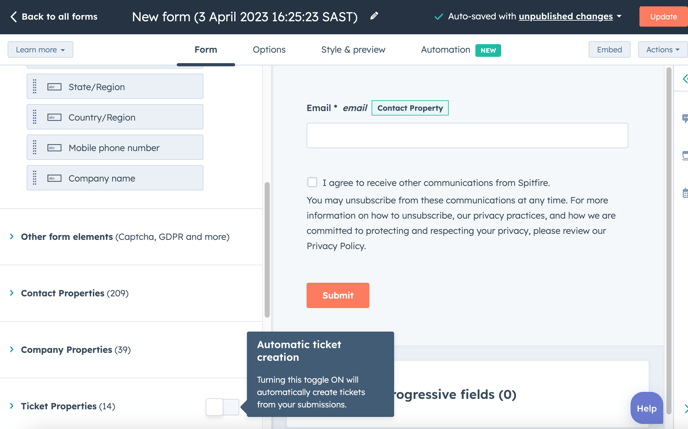
From here you can drag in any additional questions you require. Please not for the questions to be relevant to the ticket you want to use a Ticket Property.
Adding your form to your Customer Portal
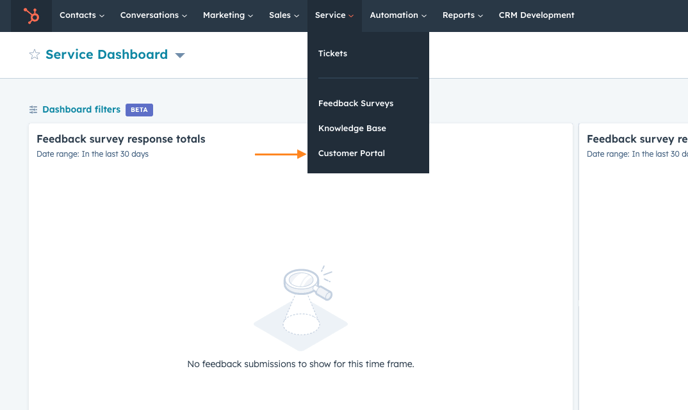
If you have Service Hub Professional or Enterprise you can add your support form to your Customer Portal. Go to the Service tab on your menu and select Customer Portal:
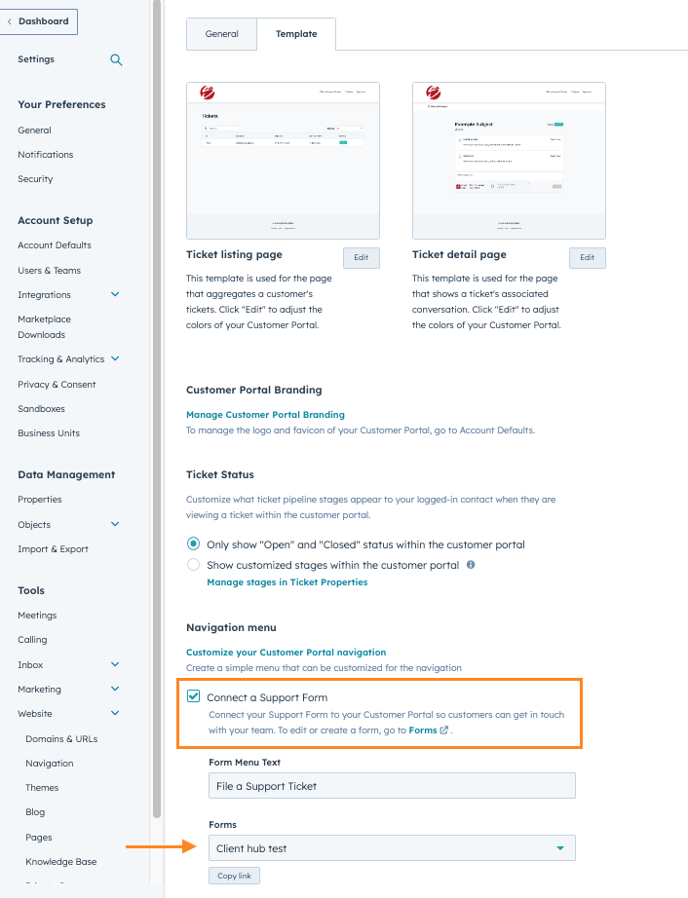
Then go to the Templates tab and scroll to the bottom. From here, click the box to "Connect a Support Form", then choose the form you created.
Key things to know:
- You can also add a support form to your Knowledge base listing page.
- If you have have Service hub free you will only be able to use one inbox for all your channels.
- If in future you upgrade to service hub and want to move your forms you will need to disconnect the form first.
- This will turn off the Ticket Properties setting and remove those fields from the form.
- You will need to readd them when connecting to the new inbox.