
Setting up user permissions in HubSpot allows you to partition your users and make sure only those who need access have it. Creating Teams gives you the ability to better filter reports, segment data, and limit views. Here are some best practices when setting permissions and teams.
How to set user permissions
- In your HubSpot account, click the settings icon in the main navigation bar.
- Click Users & Teams in the left sidebar menu.
- Then click ‘Create User’ in the top right corner.
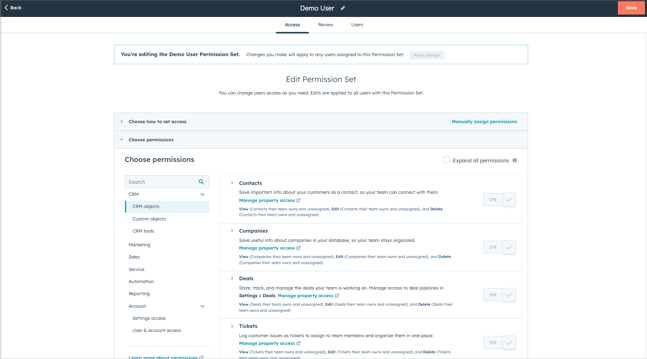
- You can now add the user’s email address and choose from a standard permission set or start from scratch.
Best Practices
- Creating users
- When creating users we recommend utilising the standard permission sets and then going in and customising based on needs, this will ensure a level of uniformity if you don’t have an Enterprise portal.
- If you have an Enterprise portal, build out your Custom Permission Sets around key teams or job roles.
- Super admins
- HubSpot super admin permission grants access to ALL elements of your portal, we recommend having limiting your super admins as much as possible. Super admins will get account-specific notifications which means that notifications for elements like rotating API keys go to them all and this leads to people making changes that could break your setup.
- If you do need several Super Admins (especially more than five) we recommend you create an SLA with the team that states which users are allowed to make which changes, for example, rotating API keys.
How to create Teams
When a user’s permission is set to Team only, users can only access records owned by or assigned to users in the team for those specific permissions.
- In your HubSpot account, click the settings icon in the main navigation bar.
- Click Users & Teams in the left sidebar menu.
- At the top click on the Teams tab
- Then click Create team
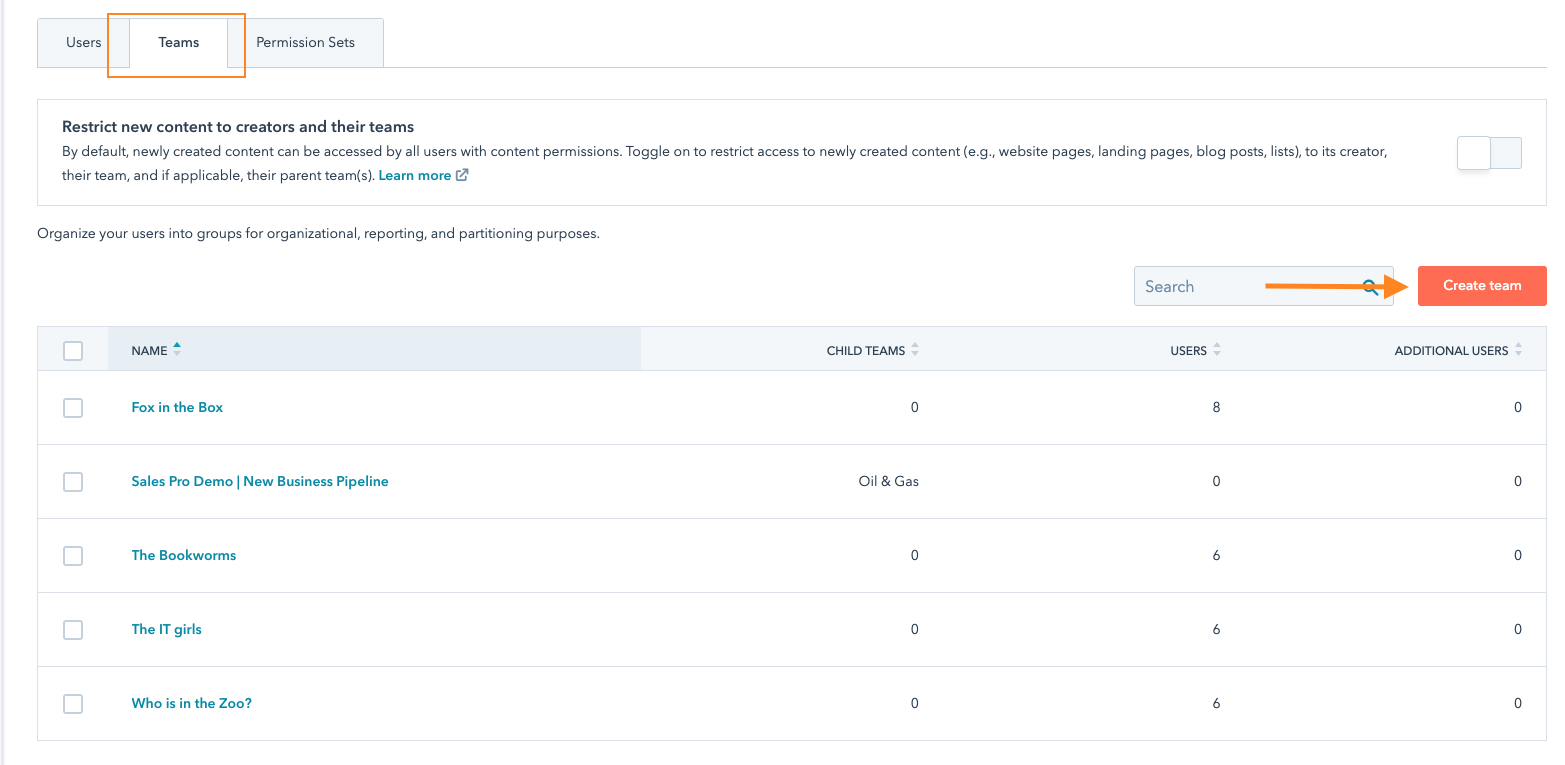
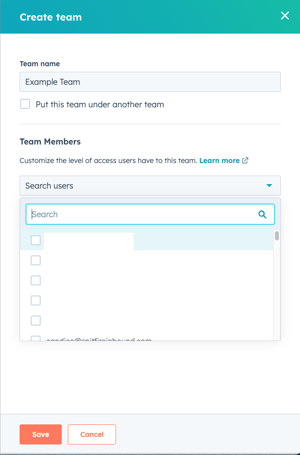
From here you can give your team a name and add users to that team. If you already have teams created, you can click on the team name and add new people.
You can also add people to a team by going to their user profile in the User list, clicking on the box next to their name, and clicking on More and Edit main team.

Understanding Team hierarchy setup
HubSpot allows for two levels of teams
- Main Team
- Extra Team
Users can only have one Main team but can be added to multiple Extra teams.
When a user is added to an Extra team:
- the user can access the Extra team's records and any content that's set to Team only permissions.
- the user can access Main team members' owned records only.
- the Main team members can access the Extra team member's records.
It’s important to note that users who are added as Extra Team Members will not be included in any team reports, routing rules (e.g., conversation routing rules), team notifications (e.g., form submission email notifications to a team), or workflow rotation actions. They will also not be able to view any custom records views set up for the team.
Take a look at this HubSpot article to find out about partitioning assets.
What is a Nested Team?
If you are an Enterprise user, you can create a team hierarchy by setting up parent-child relationships between your teams.
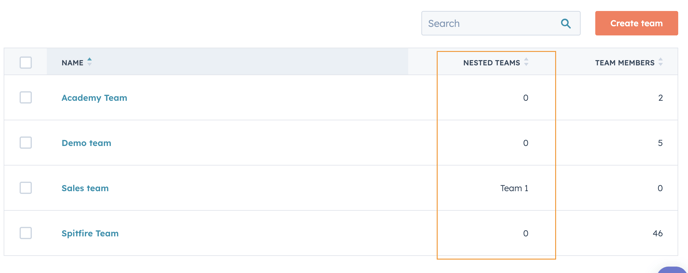
This allows you to segment your teams into hierarchies which gives you further control over who can see and do what across your portal. When using Nested Teams, members of Main teams can see everything owned by the Nested team, but the Nested team can't see everything owned by the Main team or other Nested teams. The setup and adding of users to Nested Teams works the same as Main teams.